Tag Archives: instagram tips

Luxury fashion blogger Shloka Narang of The Silk Sneaker shares how to take a better Instagram photo with her three tipsa

3 Tricks for Taking Better Instagram Photos

Luxury fashion blogger Shloka Narang of The Silk Sneaker shares how to take a better Instagram photo with her three tipsa

INSTA READY

Instagram; everyone’s favourite social media platform. As everyone from your mom to your friend’s cat makes their way onto Instagram and IGTV, standing out can seem harder than ever. If there’s anything I’ve learnt about the Instagram algorithm, it’s that it favours good content above all else. So, how do you take your Instagram level to the next level with better Instagram photos? Today I’m sharing three tips to think about every time you open your camera app to capture that perfect insta-worthy moment.

I would love to hear if you use any of these tips already and how they’ve helped you, or if you have any other questions about Instagram! Leave me a comment below!

Don’t forget to follow me on Instagram here!

I also did a special story on all the apps I use for my Instagram stories to take them to the next level. You can read all about that here.

View this post on Instagram

Ciao Bella 💋 I currently have an obsession with this skirt that I can’t stop wearing! What are you obsessed with right now? 💫

A post shared by The Silk Sneaker (@thesilksneaker) on

TURN ON YOUR GRID

When taking a photo in the camera app (or any camera app for that matter), the key to taking a good Instagram photo, and a good photo, in general, is to use the rule of thirds. To put it simply, the camera app will have a grid function which shows you a 3×3 grid on your screen. The key to a good photo is to have the point of interest be in any of the intersections in that grid. That is where your eye naturally draws to first.

I also like to sometimes put myself in the centre of the image, as long as my background allows for that. For example, in this photo here, I was standing on a corner. The pavement on either side was moving inwards to meet in the middle, so your eye is naturally drawn to this point.

View this post on Instagram

Hey September, I see you 🍂 Enjoying the last bit of summer this weekend before fall really sets in! 💕 • • • • #fashion #ootd #outfitoftheday #styleblog #chanel #chanelbag #styleblogger #styleinspiration #outfitinspo #lookoftheday #hairsandstyles #wearitloveit #lookoftheday #outfitinspiration #instastyle #citizenfemme #instafashion #whatiwore #londonfashion #personalstyle #currentlywearing #fblogger #whatiwore #realoutfitgram #lotd #fashiondiaries #outfitgoals #wiw #wiwt

A post shared by The Silk Sneaker (@thesilksneaker) on

TRY FOR NATURAL LIGHTING

Natural lighting is always best for taking better Instagram photos. It’s always more appealing to the eye and the balance in the photo will turn out better than you having to go through and fix it later. As you get better with natural light, you’ll notice that when there is too much light the photo can be too harsh, and if there is too little light, there isn’t enough depth. It’s about finding the source of light and trying to face it the best you can.

For example, in this image here, I found a window in a department store and I loved the way the light was coming in. By perching on the window and looking out, the natural light lit my face and created this image.

As you get more confident with lighting, you can also start to experiment with shadows and creating interesting imagery around that.

View this post on Instagram

My shiniest friday favourites ✨ I’ve been so into hoops recently, what about you guys? • • #jewelry #jewellery #earringaddict #earrings #MVEveryday #isharya #earringsoftheday #cartierlovebracelet #chloegirls #hoopearrings #fashion #styleinspo #instastyle #fashionblogger #fblogger #flatlaystyle #beautiful #wiw #wiwt #flatlay #love #darling #onthetable #pursuepretty #personalstyle #momentslikethese #flatlaylove #morningslikethese #fromwhereistand

A post shared by The Silk Sneaker (@thesilksneaker) on

DON’T BE AFRAID OF COLOURS

It’s always nice to have a pop of colour or a dominant colour in an image, no matter how monochrome heavy it may be. Having that pop of colour in your Instagram photo adds another layer of interest and depth and can also help you when you are thinking about how to put your Instagram feed together.

For example, in this image here, my colours are mainly black and white with gold but I added in that extra touch with the orange earrings and orange bracelet. That small change and detail really made the difference to this photo and gave it a new point of interest.

(Also note the use of symmetry in this photo, my grid was super helpful! But flat lays are a whole new story, would you want me to do a post about them?)

How do you get the perfect insta shot? Share with me in the comments below!

Never Miss A Post! Click here to Follow me on Bloglovin

Fashion blogger Shloka Narang of The Silk Sneaker reveals how she creates her Instagram stories and her three must have apps

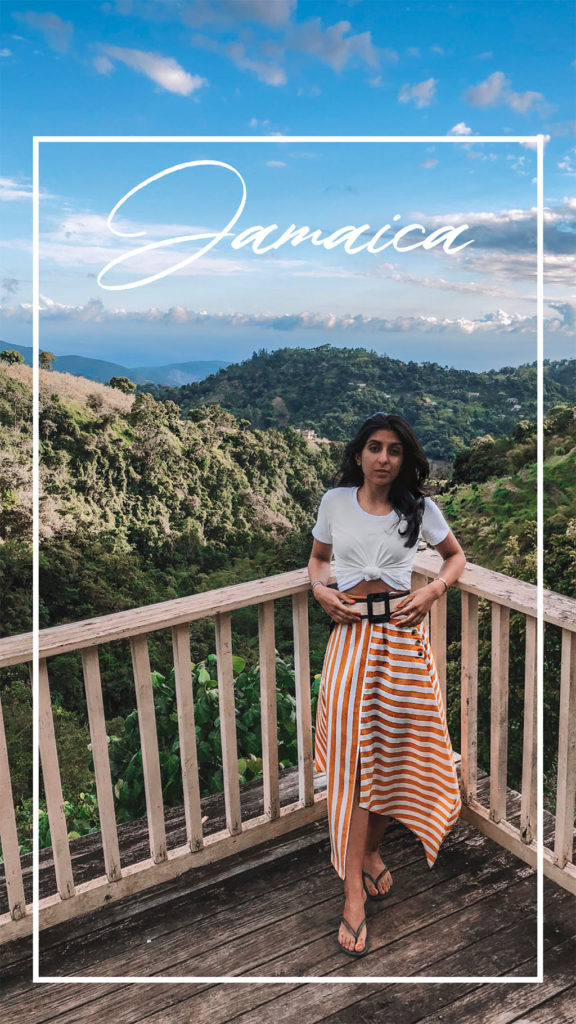
The Three Apps I Use To Create My Instagram Stories

Fashion blogger Shloka Narang of The Silk Sneaker reveals how she creates her Instagram stories and her three must have apps

Let’s Create Those Beautiful Instagram Stories…

I think I get a DM almost every day on my Instagram asking me how I create my Instagram stories, what apps I use to create them, do I use a template for Instagram stories, and so on and so forth. That’s why I’ve decided it’s time to spill my secrets of the trade and share with you the three must-have apps to create beautiful Instagram stories. Don’t forget to tag @thesilksneaker or #inspiredbyTSS if you use these apps to create some super artsy stories, so that I can see them and share your work too! Now, keep in mind, that when I create my Instagram stories, no one app makes them look the way they do. I put a lot of time, effort and creativity into the work I put out for you guys, however, these three apps allow me to translate my ideas into reality for Instagram! Now let’s get cracking, or should I say, snapping!

Over

Over is like an easy photoshop for your phone. It allows you to layer images with shapes and text. It has a wide variety of fonts to choose from, as well as other features including stickers, fun backgrounds and more. I mainly use this app to create the white frames in my images and to sometimes add in text in specific fonts that Instagram stories does not offer.


Get Over Here


Fashion blogger Shloka Narang of The Silk Sneaker reveals how she creates her Instagram stories and her three must have apps

Video Leap

You guys have been loving the way I have moving images layered with still images in my Instagram stories and the way I am able to layer photos and videos on my phone is using Video Leap. Video Leap works like a film editing software that you would have on your computer, except on your phone! It’s a great way to create fun little videos!


Get Video Leap Here

After Light

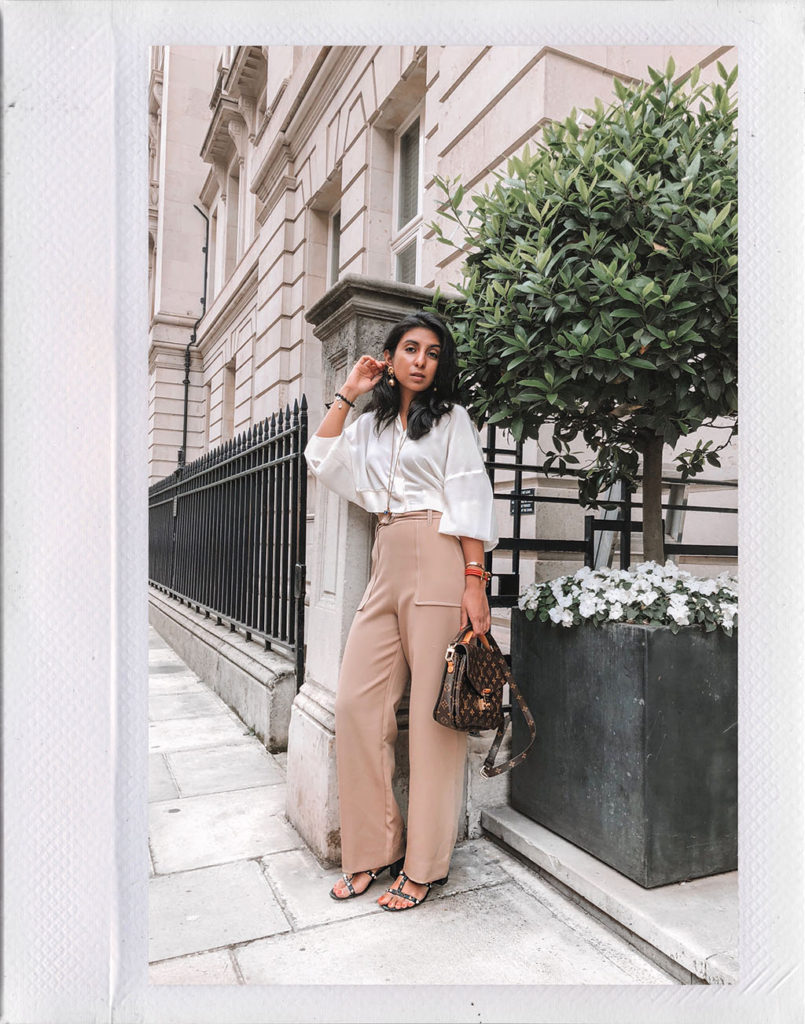
Afterlight is a photo editing app that allows you to also add polaroid frames to your photos. It’s how I’ve been adding all the polaroid frames to my images for my Instagram stories. It also has other fun effects like the light leaks, where you can add different light flares in different colours to your images. There are two versions of it, Afterlight and Afterlight 2. Afterlight 2 does not offer the frames so I would go for Afterlight.


Get Afterlight Here

Fashion blogger Shloka Narang of The Silk Sneaker reveals how she creates her Instagram stories and her three must have apps

I hope this helps you on your Instagram journey and I cannot wait to see all the amazing content you all create. Don’t forget to tag @thesilksneaker or #inspiredbyTSS for a chance to have your creative stories shared by me!

Never Miss A Post! Click here to Follow me on Bloglovin
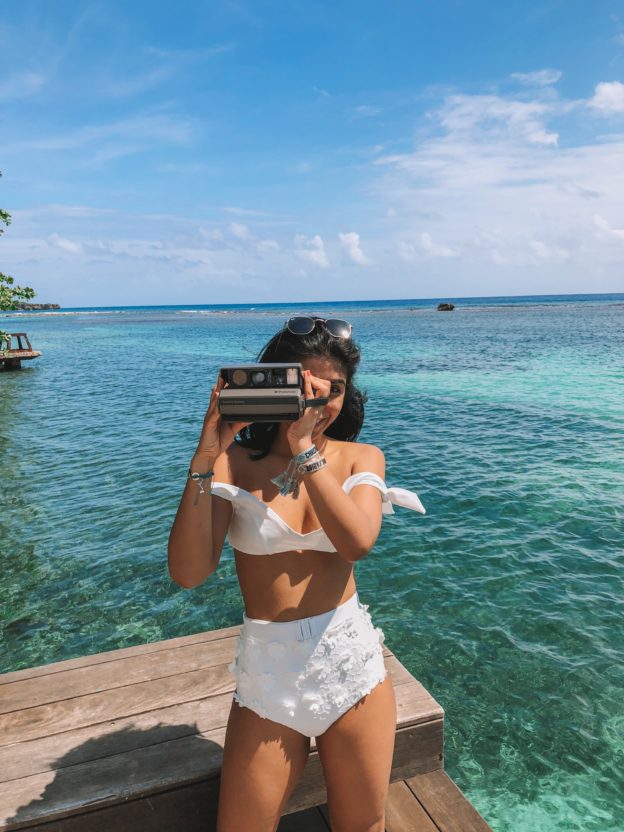
Fashion blogger Shloka Narang of The Silk Sneaker shows how to edit photos for Instagram with the best photo editing apps and Instagram tips

Let’s Talk Instagram Tips – How I Edit my Photographs

“Shloka, how do you edit your Instagram photos? What are your tips for Instagram?”

Today, I’m all about answering that question. Editing photos for Instagram is no easy feat, and although it seems like creating a perfectly curated feed of #ootds and #fromwhereIstand shots is perfectly simple, it actually requires a lot of thought and effort. You guys send so much love towards my Instagram and I wanted to return that love by sharing some Instagram tips with you today, specifically, what editing apps I use to edit photographs for my Instagram. Believe it or not, but a lot of the photos I take for my Instagram are taken on my Iphone! It’s all about creating the aesthetic you want and making sure that the photos work together to showcase that same aesthetic.

Fashion blogger Shloka Narang of The Silk Sneaker shows how to edit photos for Instagram with the best photo editing apps and Instagram tips
Fashion blogger Shloka Narang of The Silk Sneaker shows how to edit photos for Instagram with the best photo editing apps

Afterlight

The first app I use is Afterlight. I love this app because it really gives you total control over tools like brightness and contrast – the two tools I like to use the most. The aim is to keep the photo looking as natural as possible so I try not to mess around with the other settings very much. If anything, I like to add a touch of blue to my shadows to just give the photo a cooler feel (I mean that in terms of temperature, not general coolness ha ha!)

The sharpen tool on Afterlight is also really great! Although this is an app you need to pay for, It’s really worth it. I don’t use any of the filters on the app but I know a lot of people love them!

instagramtips_thesilksneaker_2
Fashion blogger Shloka Narang of The Silk Sneaker shows how to edit photos for Instagram with the best photo editing apps and Instagram tips

Snapseed


The second app I completely swear by is Snapseed. I know you have to pay for this app but trust me, it’s worth every penny! There are two tools I use the most when it comes to Snapseed; the selective feature and the transform feature. The selective feature allows you to adjust the brightness, contrast and saturation in specific areas of your photos – so you can fix the light in one part of the photo to match the other, or you can make certain colours pop! Trust me, it’s amazing, especially when you’re taking photos on your phone! 

The transform tool allows you to adjust the photo so that if it’s taken at a strange angle, you can make sure it looks straight! Give it a try and it’s a great way to fix a photo that looks amazing but you just wish was taken at a different angle! 

VscoCam

Who doesn’t love Vsco? If you haven’t been using it already, I suggest downloading it ASAP. The thing with Vsco is that it is so easy to get excited by all the different filter options and allow yourself to just get a bit filter crazy. Don’t forget, the key is to keep the photo as natural as possible! What I love about Vsco is that it allows you to adjust the intensity of the filter. I tend to go for either A8 or A9, depending on the shot, and I like to keep the filter intensity as low as possible. 

What’s great is that this way you can ensure all your photos in your feed are using the same filter or at least a similar filter. This is what guarantees a feed that looks cohesive and images that look great together! 

Fashion blogger Shloka Narang of The Silk Sneaker shows how to edit photos for Instagram with the best photo editing apps and Instagram tips

Retouch


Retouch is like magic. It allows you to completely remove items in your photograph that you wish weren’t there. Annoying label on the wall behind you? Gone! Cigarettes on the ground? Gone! You just use the object removal tool to highlight or lasso the object you don’t want, and then click Go! Before you know it, it’s the object wasn’t there to start with. There’s nothing worse than silly labels and garbage on the ground to ruin a gorgeous photo!

If you’re looking for an alternative, Facetune also allows you to take out objects using it’s clone stamp tool. The only reason I like Retouch better is because you don’t need to clone stamp the object out, Retouch just does it for you! Facetune is great though to sharpen up certain parts of your image! 

UNUM


Of course, your Instagram is more than just one photo – it’s about how all the photos come together in the feed. As I mentioned above, it’s all about making sure your editing is consistent and you use the same or similar filter for each photo. Even so, a lot of you have asked me how I know which photos will go together! There is a super handy app called Unum which allows you to import the photos you want to put in and see how they go together in your feed! 

I love using this app because it shows you how all the new photos will go together with your existing feed and helps you plan out your next set of photos too! It also shows you everything on a white background instead of a dark one like Vsco, which really can make more of a difference than you would think! 

instagramtips_thesilksneaker_6
Fashion blogger Shloka Narang of The Silk Sneaker shows how to edit photos for Instagram with the best photo editing apps and Instagram tips
instagramtips_thesilksneaker_10

Would you like more Instagram tips? Would you guys want to read about my flatlays or how I frame other shots? Let me know!

mailchimpsignoff